Why This Simple Habit Is More Complicated Than It Looks
Picture the scene: you've just finished cutting up raw chicken for dinner. You grab a wipe from the canister on the counter, run it once across the surface, toss it in the trash, and move on. In your mind, the counter is now germ-free and safe.
For a lot of home cooks, that single swipe is the entire ritual. It feels thorough. It smells clean. And according to plenty of frustrated posts from people comparing notes online, it's often not doing what they think it's doing.
Somewhere between "wipe it down" and "it's sanitized," a few steps tend to get skipped - steps that matter if you actually want to kill germs rather than just move them around. This article walks through the real mistakes people make with kitchen wipes, the surfaces that get quietly damaged in the process, and the correct technique for each stage of a normal kitchen routine.

The "One Wipe, No Rinse" Myth - Why Your Counter May Not Actually Be Disinfected
A common surprise for people who finally read the fine print on their wipe canister: many disinfecting wipes are labeled for a rinse step on any surface that will later touch food. It's easy to miss, because the front of the package shows a sparkling countertop and nothing about rinsing at all.
Here's the distinction that matters:
Cleaning removes visible dirt, crumbs, and some germs - but doesn't kill them.
Sanitizing reduces germs to a level considered safe by public health standards.
Disinfecting kills a broader range of bacteria and viruses, but usually requires a longer contact time and, on food surfaces, a follow-up rinse with clean water.
If you're wiping down a counter where food will be prepared again - cutting a sandwich, kneading dough, setting down produce - the correct sequence is:
- Wipe the surface with the disinfecting wipe.
- Let it air-dry for the time listed on the label.
- Rinse the surface with a clean, water-dampened cloth before food touches it again.
- Skipping step three doesn't necessarily create a food-safety emergency for occasional use, but it's the gap between what most people assume they're doing and what the label actually instructs.
The Waiting Game - Why Wiping Once Isn't Enough
This is probably the single most common mistake, and it's almost invisible because it feels correct. Most kitchen counters dry within 30–60 seconds of a wipe pass. Most disinfectants need the surface to stay visibly wet for 4 to 10 minutes to actually kill the germs listed on the label.
That means the counter is dry - and the "disinfecting" has effectively stopped - long before the chemical has finished its job.
A simple fix: don't treat one wipe as one job. Use two or three wipes in succession, re-wetting the same area so it stays glistening for the full contact time on the label. If that sounds excessive, a kitchen timer or the timer app on your phone takes the guesswork out of it - set it once, and you'll know exactly how long to keep the surface wet from then on.
"My Granite Is Staining" - When Wipes Damage Instead of Clean
Homeowners with natural stone counters have run into a specific and frustrating pattern: months of routine disinfecting-wipe use, followed by dull spots, faint staining, or a sealant that no longer beads water the way it used to.
The cause is usually citric acid or other acidic ingredients common in disinfecting wipes and sprays. On laminate or quartz, this isn't an issue. On granite or marble, which are porous stones protected by a sealant, repeated acidic contact slowly breaks that sealant down. Once it's compromised, the stone starts absorbing whatever touches it - including the bacteria the wipe was supposed to eliminate in the first place.
A quick reference for which counters tolerate standard wipes well:
Laminate and quartz - generally safe with standard disinfecting wipes.
Granite and marble - avoid bleach, ammonia, vinegar, or highly acidic wipes; use a 70%+ isopropyl alcohol solution instead, applied with a soft cloth and dried fully after.
Butcher block / wood - needs its own oil-based care routine; standard wipes can dry out the wood over time.
If you're not sure which category your counter falls into, a simple test is to check whether water still beads on the surface. If it soaks in instead, the sealant may already be compromised.
The Cross-Contamination Trap - Using the Same Wipe Everywhere
A wipe canister invites a shortcut: pull one out, wipe the counter, then keep going - the fridge handle, the sink, maybe the trash can lid - all with the same wipe. It feels efficient. It's also the fastest way to spread whatever was on the dirtiest surface to every surface after it.
The rule that actually holds up: one wipe covers one zone, then it goes in the trash. If you're cleaning a kitchen after meal prep, treat it as a short sequence - counters, then handles, then the sink - with a fresh wipe for each stage rather than one wipe stretched across all three.

"Am I Overdoing It?" - The Health Trade-Off Behind Daily Disinfecting
Not every wipe-down needs to be a disinfecting one. Most disinfecting wipes rely on active ingredients such as quaternary ammonium compounds ("quats"), and repeated daily exposure has been associated with skin and respiratory irritation for some people, particularly in households with asthma or allergies.
For everyday spills and general tidying, a simple soap-and-water cloth is enough - cleaning removes the majority of germs without the chemical load. Reach for a disinfecting wipe specifically after higher-risk moments: raw meat prep, a sick household member, or visible contamination. Treating every wipe-down as a disinfecting event isn't necessary, and for households trying to cut down on synthetic residue, it's worth keeping a stack of plain, non-disinfecting wipes on hand for routine use. Some households have started shifting toward Biodegradable Kitchen Paper Towel options for this everyday tier of cleaning, saving the stronger disinfecting wipes for the situations that actually call for them.
Streaks, Residue, and the "Why Does My Counter Look Dirtier After Wiping" Problem
A filmy streak left behind after wiping usually comes down to one of three things: the wipe's own additives (fragrance oils, moisturizing agents), hard water minerals reacting with the cleaning solution, or simply not drying the surface after the contact time is up.
The fix is almost always the same: after the wipe has sat for its full contact time, go over the counter with a dry microfiber cloth. This single step clears up the vast majority of streaking complaints, and it takes about ten seconds.
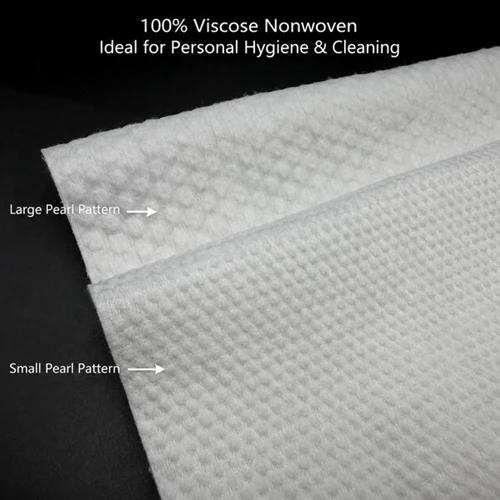
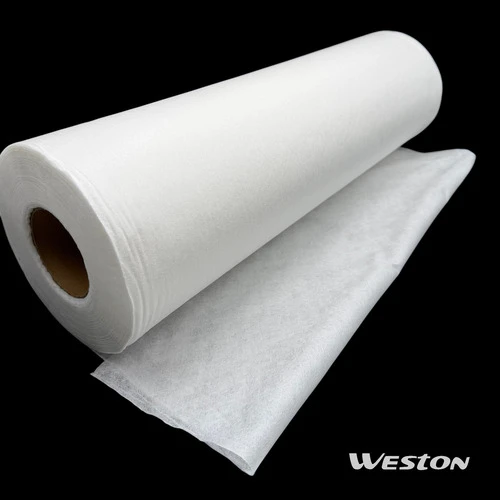
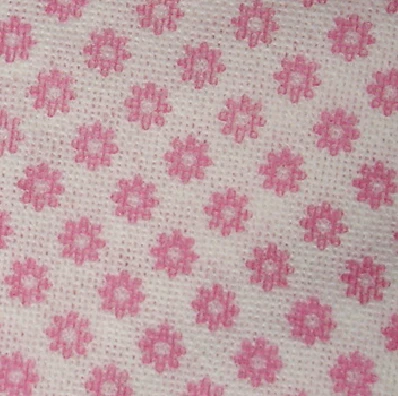
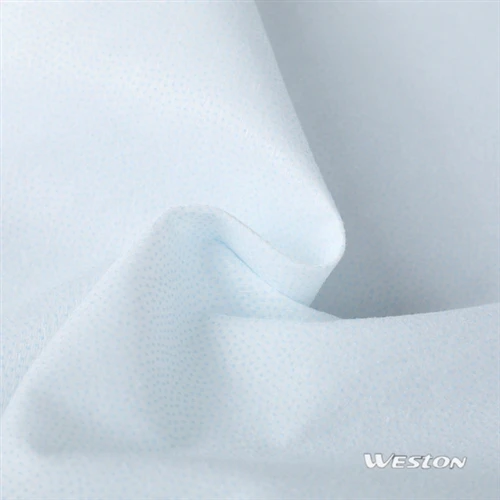
It's also worth noting that not all wipes are built the same underneath the label. The nonwoven fabric a wipe is made from affects how evenly it releases solution, how much lint or residue it leaves behind, and how well it holds up during a longer wipe-down. Manufacturers producing Spunlace For Wet Wipes material tend to prioritize an even, low-lint texture specifically to reduce this kind of streaking - one more reason two wipes from different brands can behave noticeably differently on the same countertop.
Raw Meat Prep - A Worked Example From Start to Finish
Since this is the scenario that drives the most anxiety, here's the full sequence in one place:
Move utensils, cutting boards, and anything else that touched the raw meat into hot, soapy water.
Wipe the counter area with a disinfecting wipe, covering slightly beyond where the meat actually touched.
Use a second wipe if the first one dries before the label's contact time is up - keep the surface visibly wet.
Once the contact time has passed, rinse the area with a clean, damp cloth if food will be placed there again.
Wash the cutting board, knife, and utensils separately with hot, soapy water.
Dry the counter with a clean towel or microfiber cloth.
Followed in order, this is genuinely enough. There's no need for extra scrubbing, bleach spraying, or repeating the whole process three times out of anxiety - the steps above cover what food-safety guidance actually calls for.
Quick-Reference Checklist
- Rinse food-contact surfaces after the disinfecting wipe has fully dried.
- Keep the surface visibly wet for the full contact time on the label (usually 4–10 minutes) - use more than one wipe if needed.
- Avoid acidic or bleach-based wipes on granite and marble; use 70%+ isopropyl alcohol instead.
- One wipe per surface/zone - don't reuse across counters, handles, and sinks.
- Save disinfecting wipes for higher-risk cleanups; use plain wipes or soap and water for routine tidying.
- Dry-buff with a microfiber cloth after the contact time to prevent streaking.
Building a Habit That Actually Works
None of this requires wiping more often - it requires wiping correctly for the surface and the situation in front of you. A minute spent reading the label on your current wipes, or checking whether your countertop is a stone that needs gentler treatment, solves most of the frustrations people run into.
If you're sourcing wipes for a household, a restaurant, or a larger facility, it's also worth looking past the front-of-pack marketing and asking what the wipe is actually made of and rated for - the material and fabric quality behind the label matters as much as the active ingredient inside it. Working with an established kitchen cleaning wipes supplier that can speak to fabric composition, contact-time ratings, and surface compatibility takes a lot of this guesswork off your plate entirely.